Preserve the flavours of your garden all year long! Start drying herbs like a pro and capture the taste of summer.
Gardening is all about patience and reward. After months of nurturing your herbs, it’s finally time to reap what you’ve sown—literally!
Harvesting and drying herbs might seem like a simple task, but there’s a bit of art (and science) to getting it just right.
We’ll dive into the ins and outs of collecting your leafy treasures and preserving their flavour, aroma, and potency for months to come.
Timing is Everything: When to Harvest
When it comes to harvesting drying herbs, timing is key.
Here’s a quick rundown on when to pick your herbs for the best flavour:
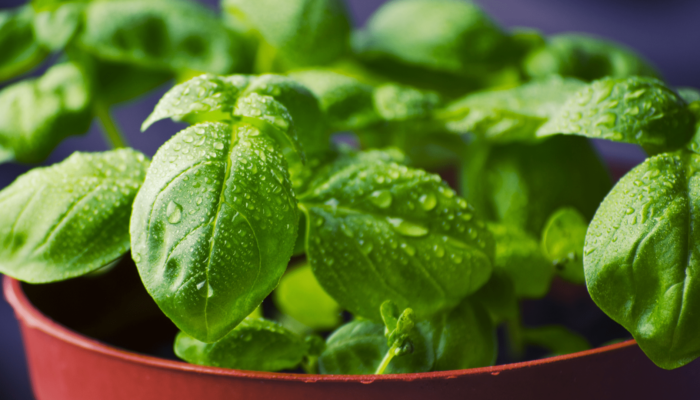
- Basil, Mint, and Oregano: Harvest before they flower. The leaves are at their most flavourful when the plant is still young and hasn’t started producing seeds.
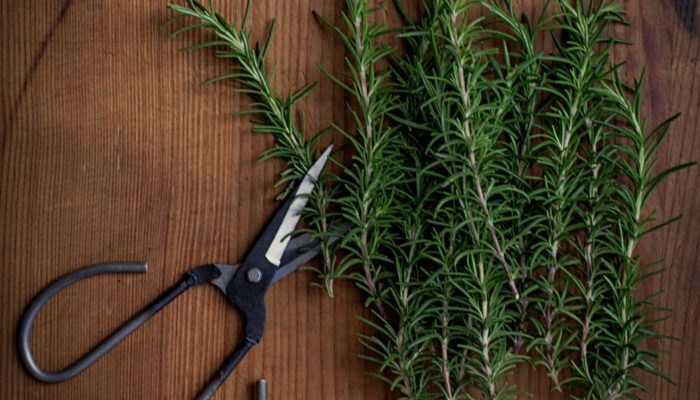
- Rosemary, Thyme, and Sage: These woody herbs are best harvested just as they start to flower. Their oils are at their peak, making for a more potent flavour.
- Parsley and Cilantro: Pick these leafy herbs in the morning after the dew has dried but before the sun gets too intense. This is when they’re the most flavourful.
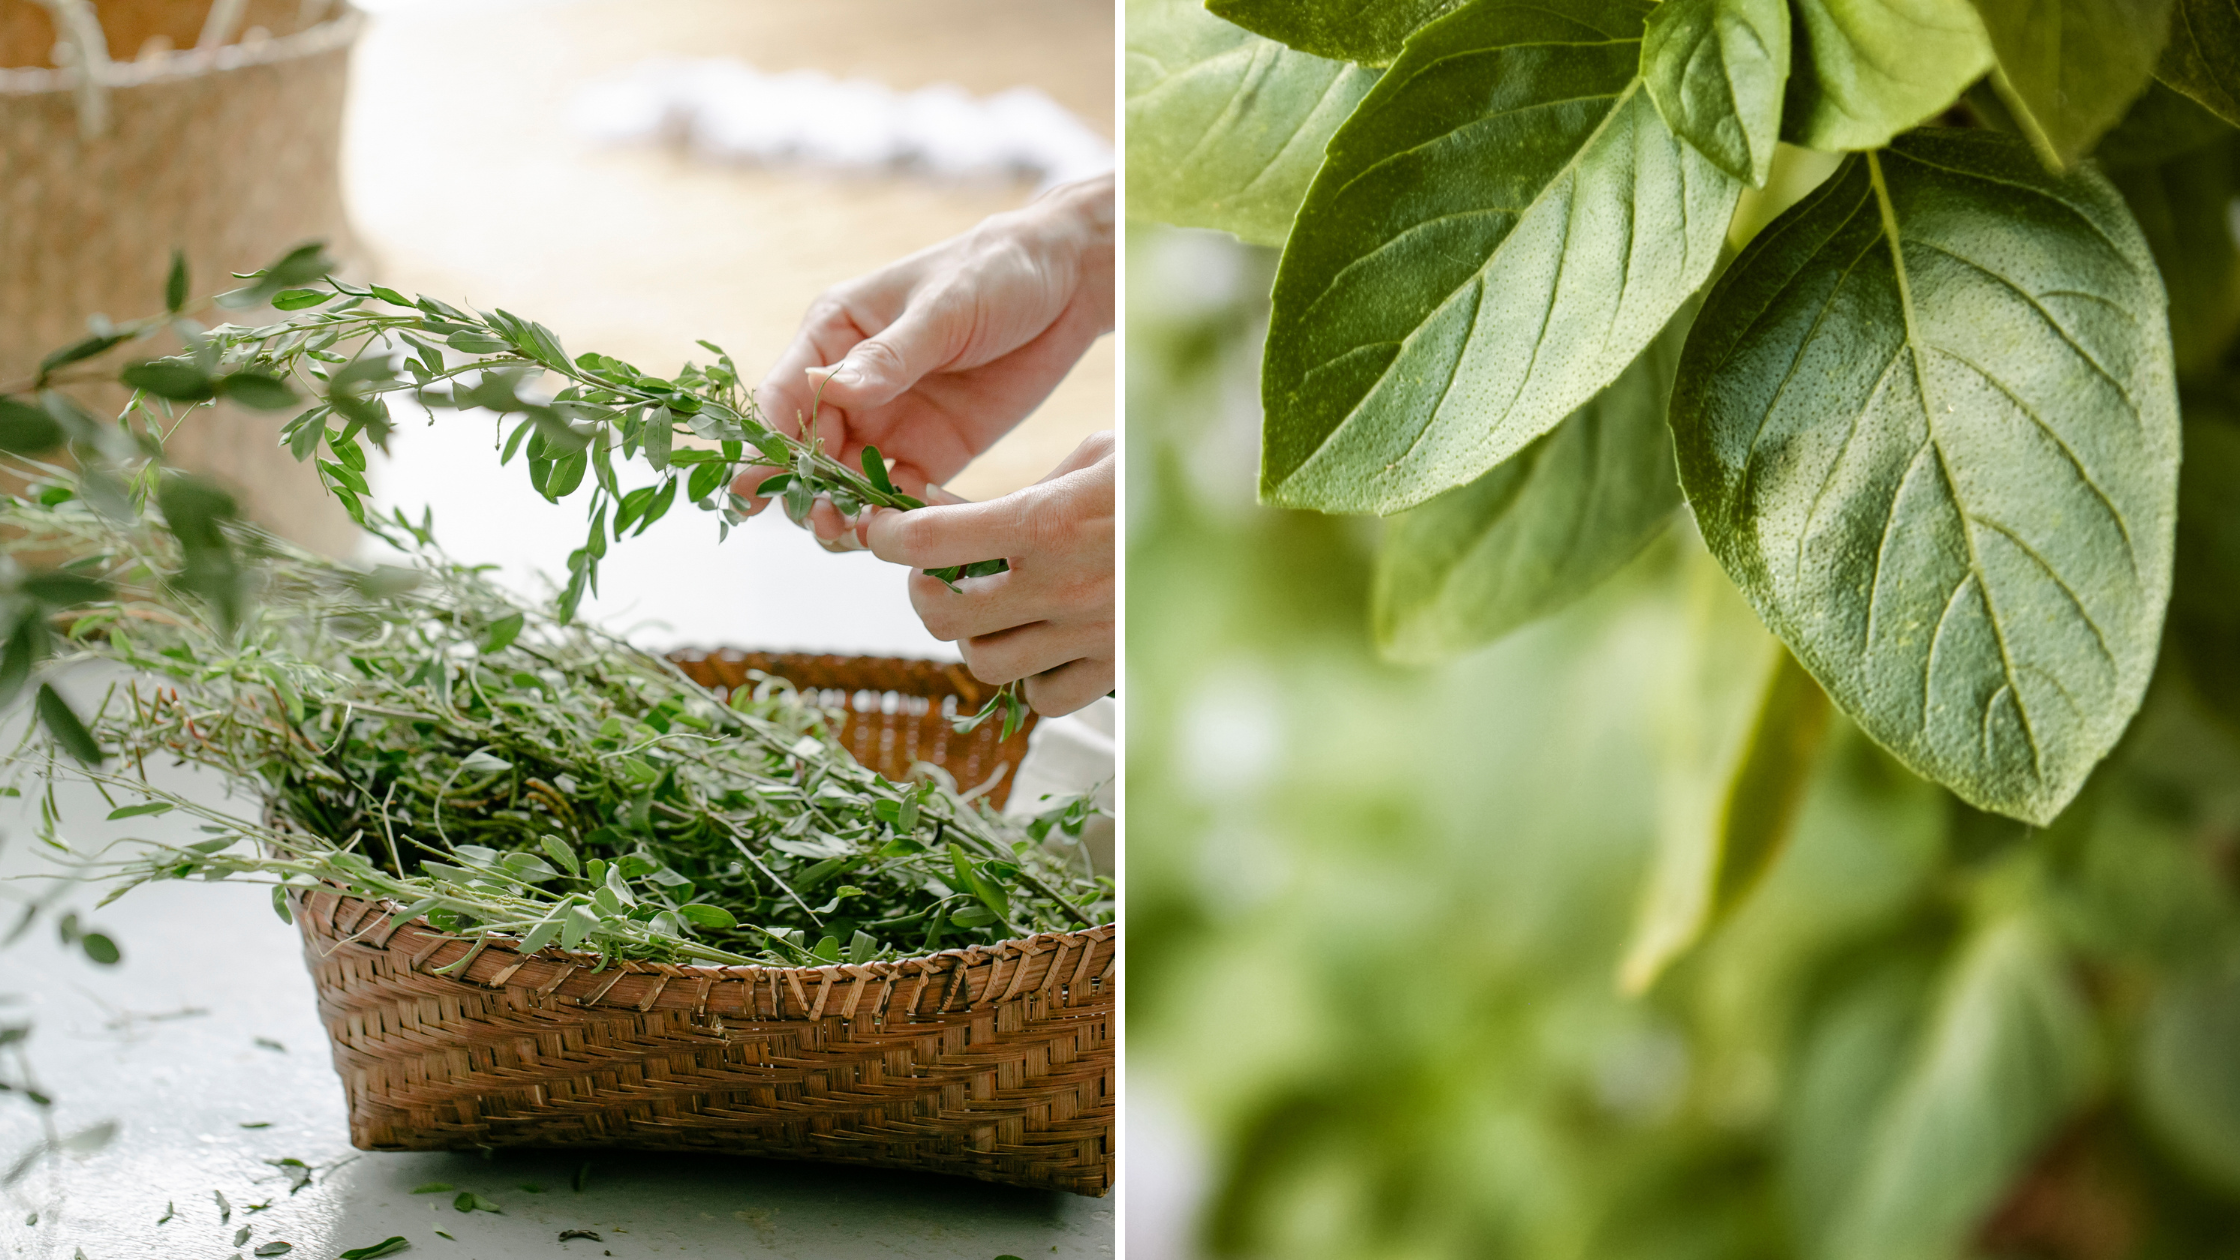
Always use sharp scissors or pruning shears to avoid damaging the plants. Snip just above a leaf pair to encourage bushier growth.
The Magic of Drying Herbs
Drying herbs captures the essence of summer.
- Air Drying: Best for low-moisture herbs like rosemary and thyme. Bundle stems and hang in a cool, dry place, avoiding sunlight.
- Oven Drying: Ideal for moisture-rich herbs like basil and mint. Spread leaves on a baking sheet, dry at a low temp (95-110°F), and check every 15-20 mins.
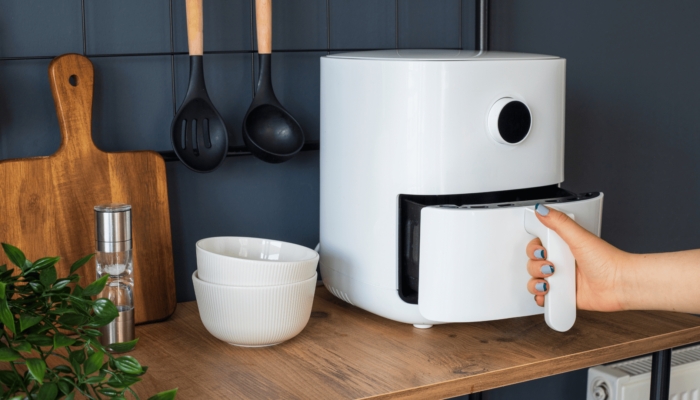
- Air Fryer: Place herbs in a single layer, tie stems, and air fry at 160°C until dry. Cool before storing.
- Dehydrator: A quick, efficient option for delicate herbs. Follow the device’s instructions for perfect results.
Storage Solutions: Keep It Fresh
Once your herbs are dried and ready, proper storage is crucial to maintain their flavour:
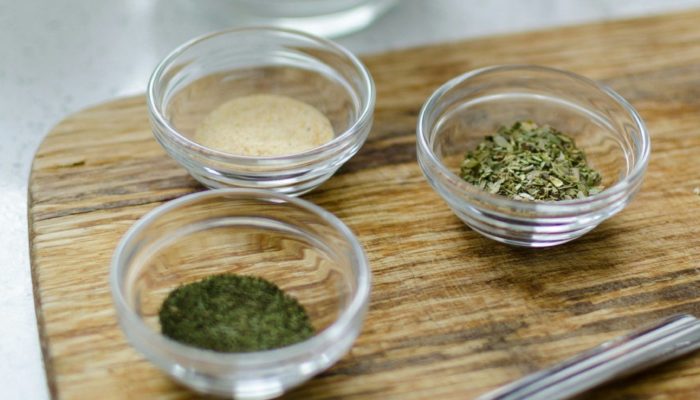
- Containers: Store your dried herbs in airtight containers—glass jars or metal tins work great. Keep them away from light, heat, and moisture to ensure they last longer.
- Labelling: Don’t forget to label your jars! You might think you’ll remember what’s inside, but a few months down the line, all dried leaves can look surprisingly similar. Add the name and the date you dried them, so you know when it’s time to use them up.
- Freezing: Dried herbs can also be frozen to preserve their flavour and essential oils. They can be stored in zip-lock freezer bags, frozen in a paste, or mixed with oil and placed in ice cube trays.
Pro Tips for Extra Flavour
- Harvest Often: Regular harvesting encourages herbs to produce more leaves, so don’t be shy about snipping away.
- Store Whole: If possible, store drying herbs as whole leaves rather than crushing them. This helps retain the oils and flavours. Crush them right before use for maximum flavour.
- Use What You Grow: Dried herbs are more potent than fresh, so use about one-third of the amount you would normally use in a recipe.
Drying herbs is a great way to hold onto the vibrant flavours of your garden long after the growing season ends. Plus, nothing beats the satisfaction of cooking with herbs you’ve grown and harvested yourself.
So, roll up your sleeves, and grab those scissors!
To see our full spectrum of gardening knowledge, click here!















Thank you for the information on growing herbs and using them! I have a trug now so am aiming to plant some in that next year!
hello best way to do Bay leaves please